How to make an iPhone mockup from a screenshot
To make an iPhone mockup from a screenshot on a Mac, open the screenshot in Zinxo’s Background mode (⌥⇧B, or the thumbnail’s Background button), choose Device → iPhone, pick the model (iPhone 17 Pro, Pro Max or Air), colour and angle (Hero, Float or Top-down), and copy the result. It renders a real 3D device, so no Figma or Photoshop template is needed.
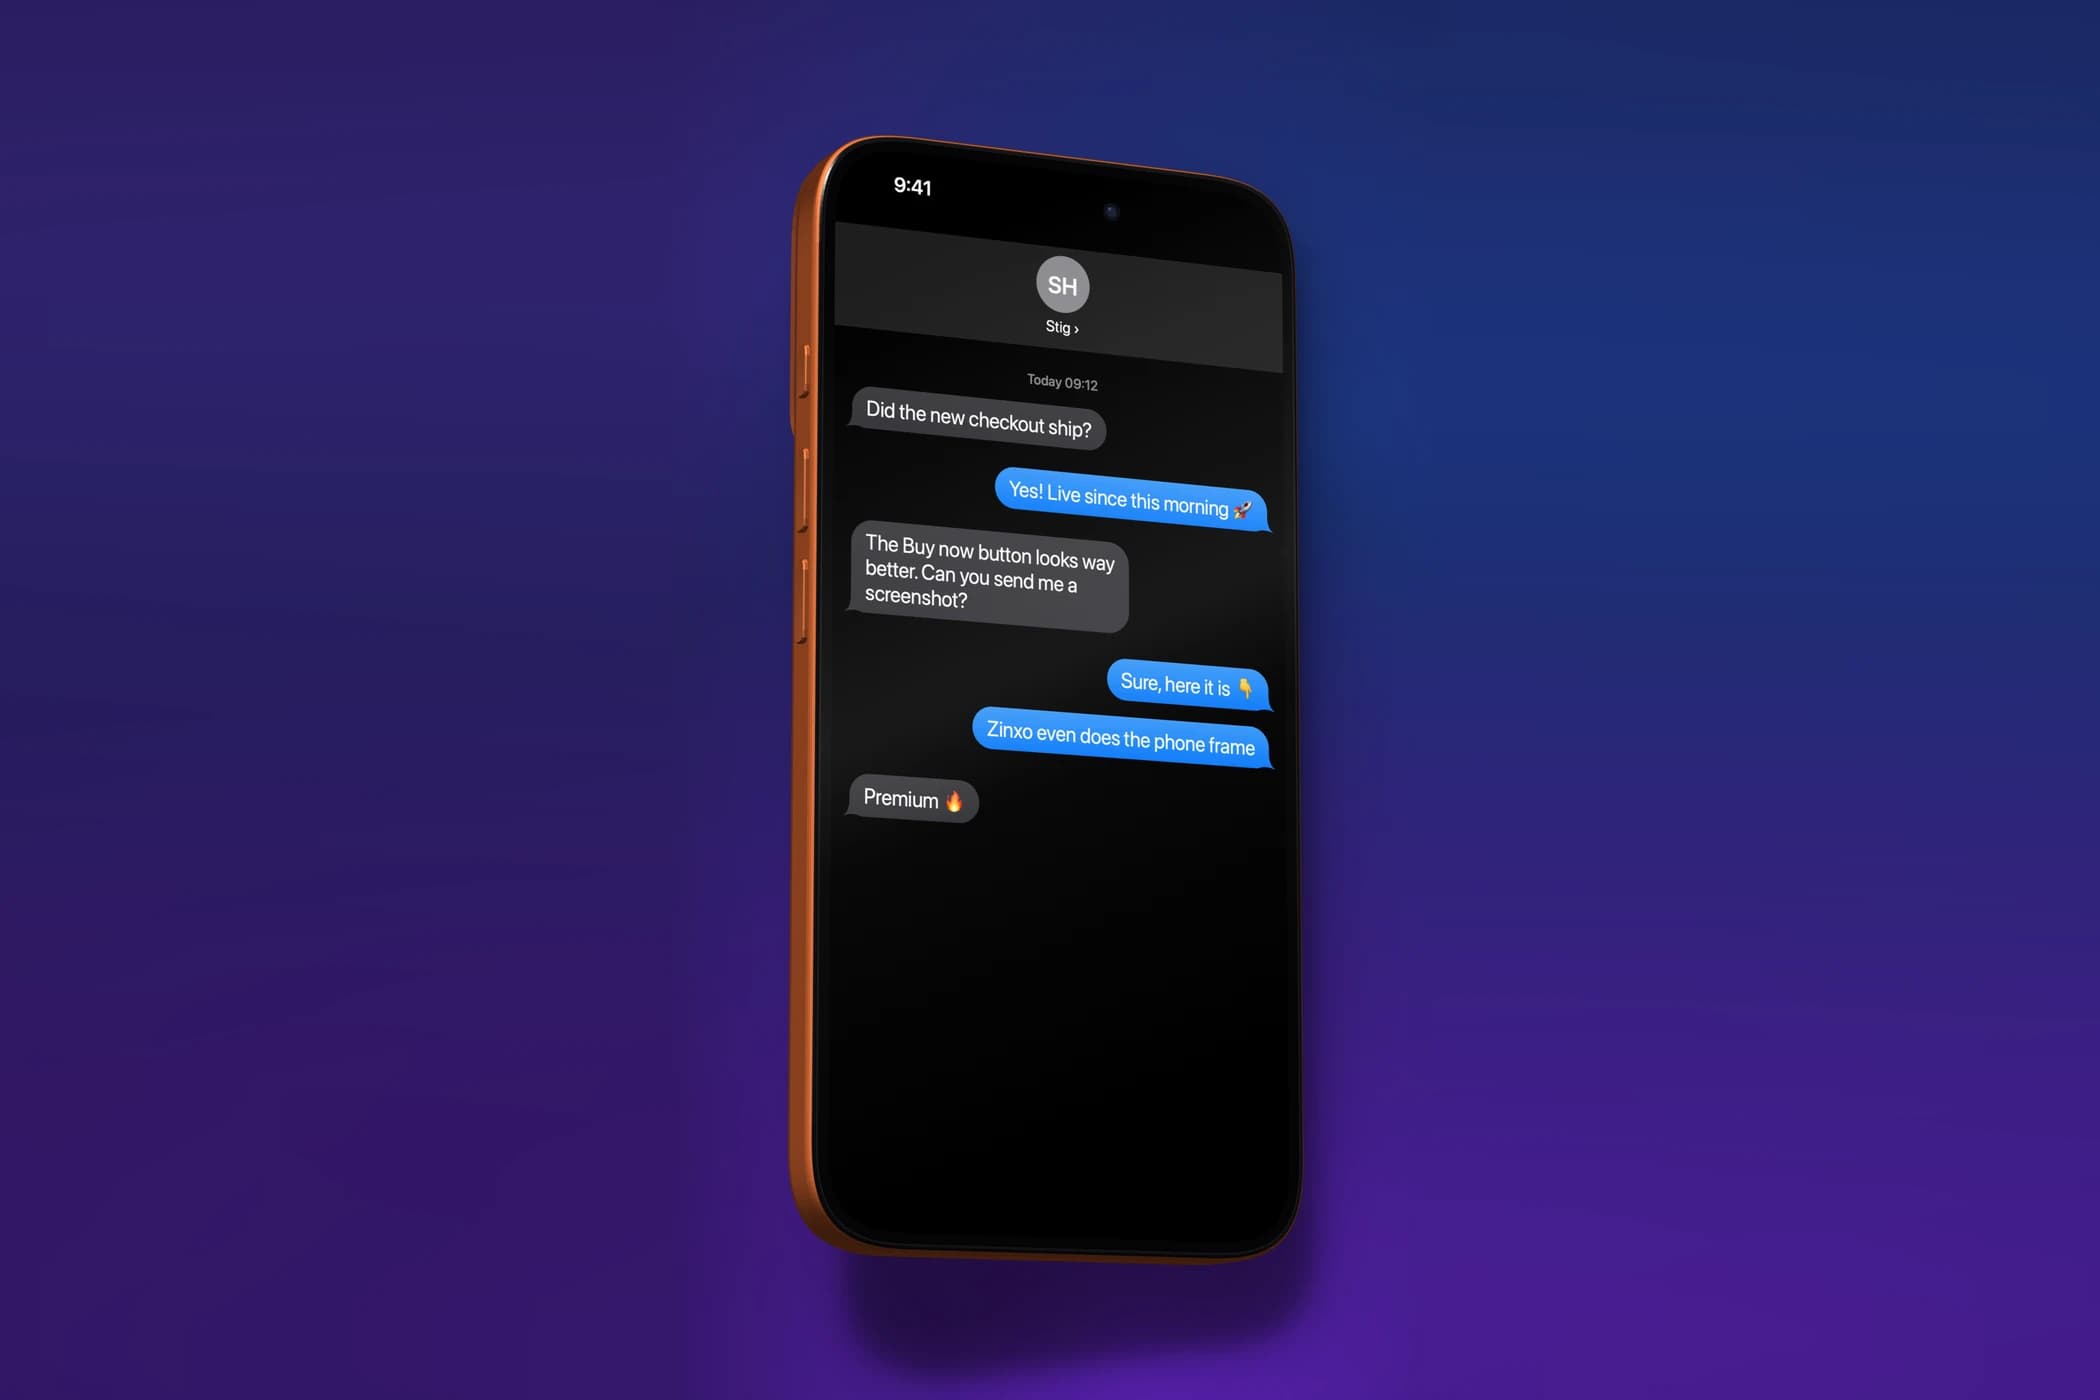
Step by step in Zinxo
- Take a screenshot with ⌘⇧4, or hover an older one in History (⌘⇧5) and click Add background.
- Press ⌥⇧B (or click Background on the floating thumbnail) to open the editor in Background mode.
- Under Device choose iPhone, then the model (iPhone 17 Pro, 17 Pro Max or iPhone Air) and a colour, such as Cosmic Orange.
- Pick an angle: Hero, Float or Top-down, and drag the device to rotate it a little.
- Choose a wallpaper behind it, then ⇧⌘C to copy or ⌘S to save.
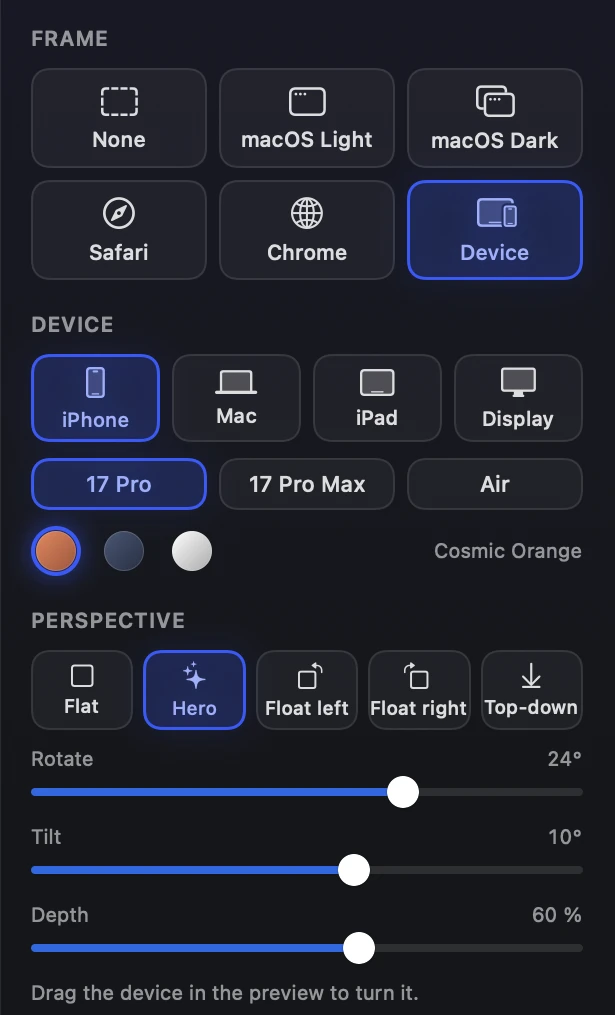
Other devices
The same picker has MacBook Pro 14″ and 16″, MacBook Air, iPad Pro 11″ and 13″ and Studio Display. Desktop screenshots can also go in a macOS, Safari or Chrome window frame with a tilt or isometric perspective.
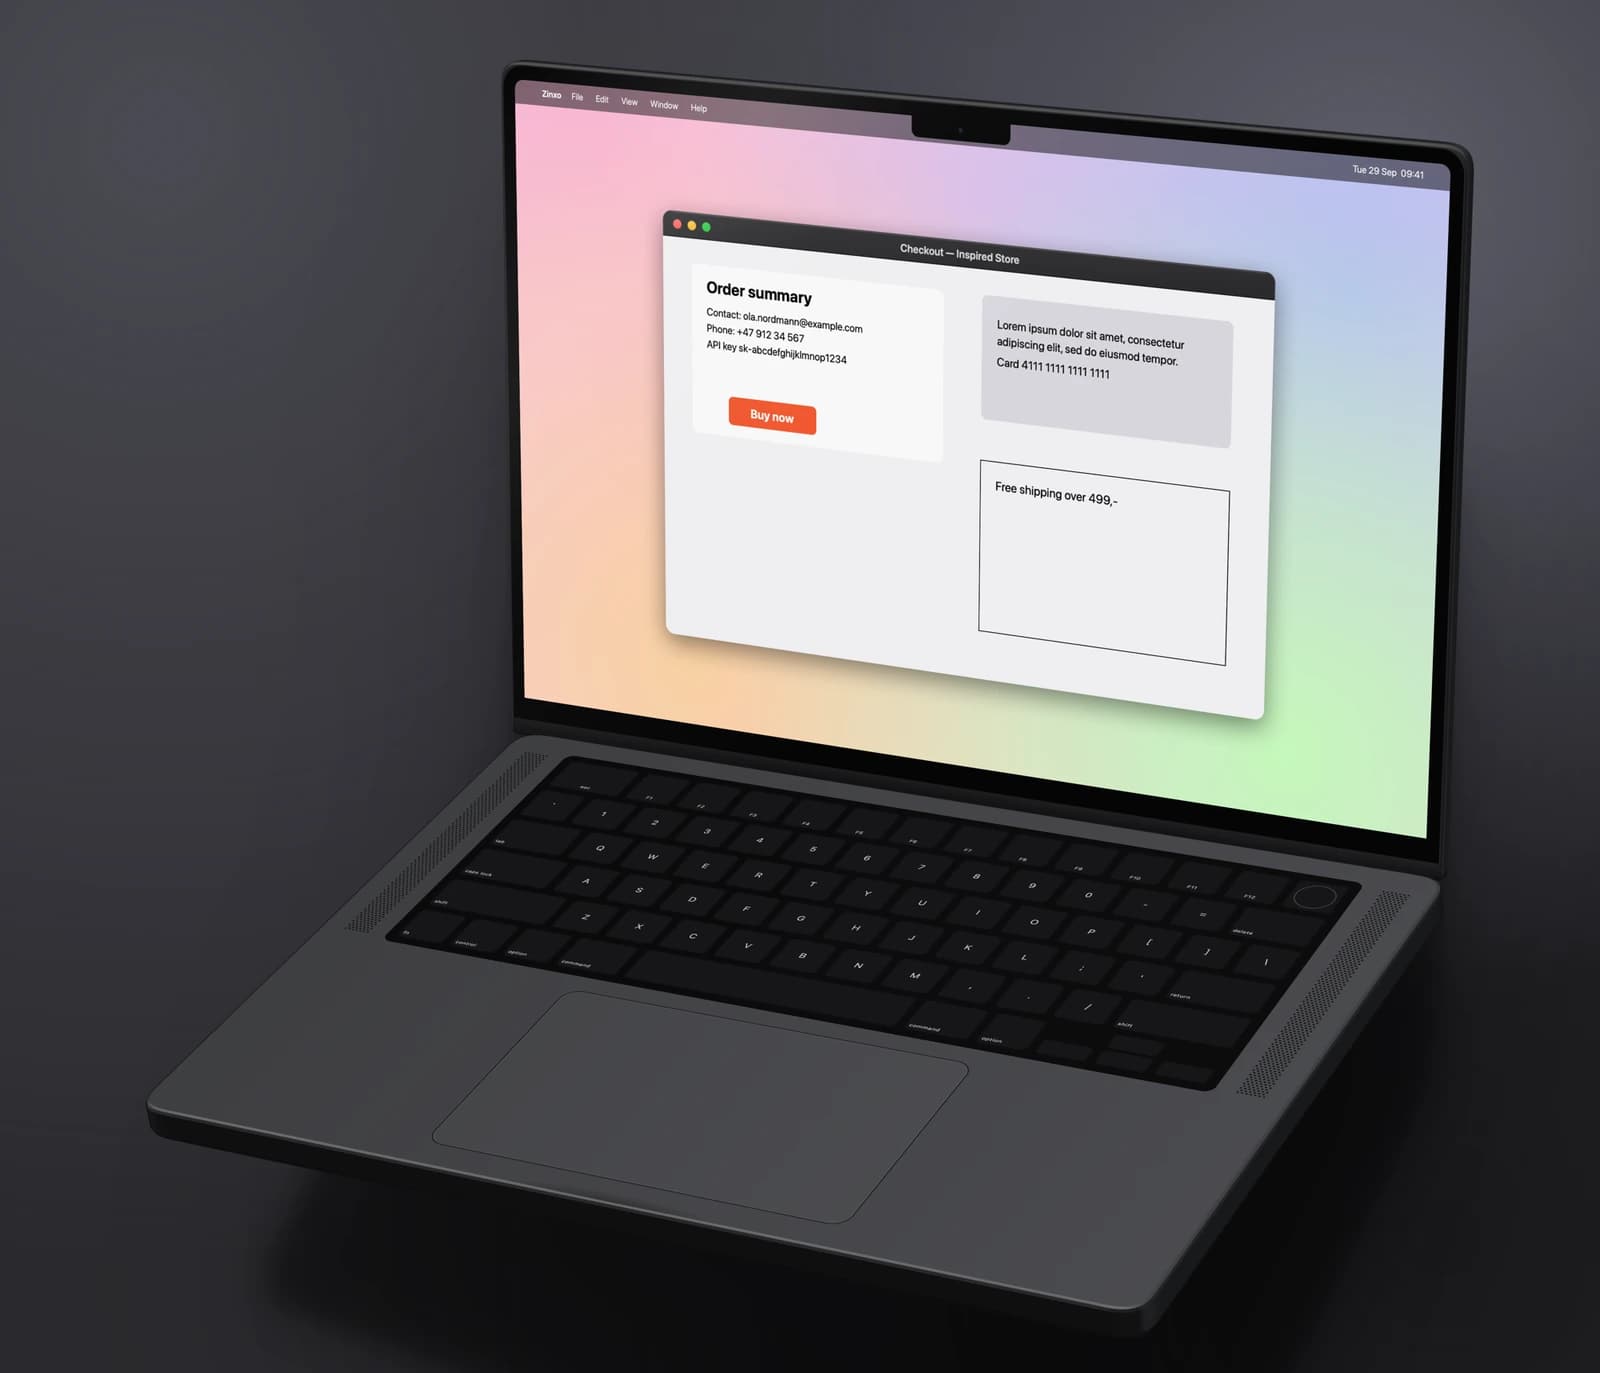
Without an app
Apple publishes flat product bezels in its Design Resources, and there are web mockup generators and Figma plugins. They work, but you place the screenshot by hand and usually get a flat, front-on device.