How to annotate a screenshot on Mac
To annotate a screenshot on a Mac for free, press ⌘⇧4, click the floating thumbnail and use Markup (or open the file in Preview and choose View → Show Markup Toolbar). For better-looking arrows, boxes, text bubbles, numbered steps and real redaction in one step, press ⌥⇧M in Zinxo to capture an area straight into its editor.
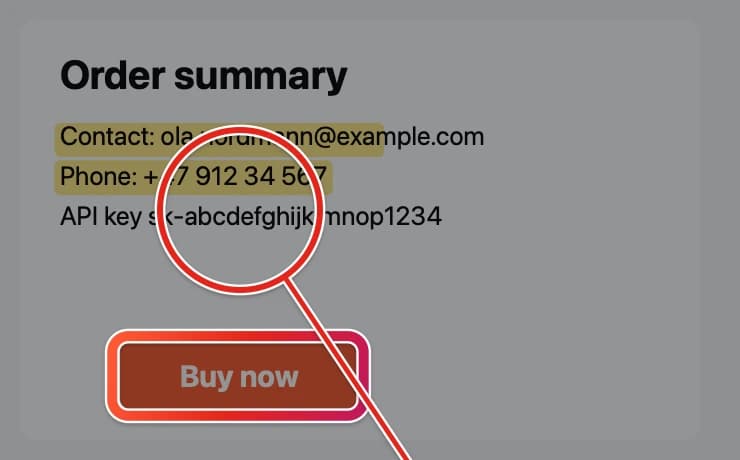
The free way: Markup
Markup is fine for a quick arrow. It has no numbered steps, no blur or pixelation, and the arrows are straight lines, so it gets slow when you do it every day.
- Press ⌘⇧4 and drag over the area.
- Click the thumbnail that appears in the corner (before it slides away) to open Markup.
- Use the shapes, text and highlight tools, then click Done.
The fast way with Zinxo
- Press ⌥⇧M (or ⌘⇧4, then click the thumbnail) to capture an area and open the Zinxo editor.
- Press A for an arrow and drag from empty space to the thing you mean. It curves the way your hand moved and can snap to the button under the tip.
- Press R for a box (a single click boxes the element under the cursor), T for a text bubble, N for numbered steps, M for a magnifier, H to highlight.
- Press P to redact: drag over emails, keys or names for a solid bar or pixelation.
- Press ⌘↩ (Done) or ⇧⌘C to copy the annotated image, or drag it into Slack, Mail or Finder.
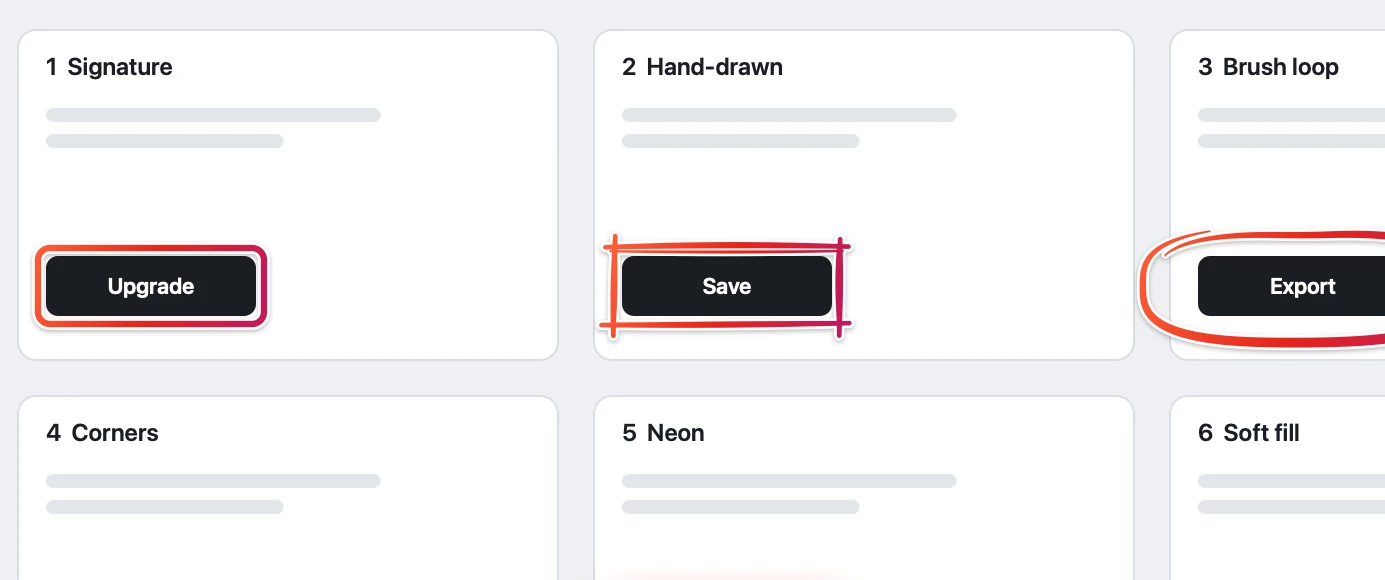
Tips for screenshots people understand
One arrow and one box beat five of each. Put numbers on the image when there are steps, and crop to what matters. Annotations in Zinxo stay editable: open the same capture again and your marks come back as objects.
Zinxo: $29 once (regular $39), 1 Mac, 1 year of updatesCapture, hand-drawn markup, 3D mockups, scrolling capture, recording to MP4 or GIF, OCR search and agent handoff in one native Mac app. One price, no subscription.
Related guides
- How to draw arrows on screenshots (that look hand-drawn)
- How to blur sensitive info in a screenshot on Mac
- How to make an iPhone mockup from a screenshot